You can copy the payload from any individual Flow and use it to create a Facebook Click-to-Messenger ad that triggers that specific Flow. This way you can tailor a Flow to a specific audience, and start a direct conversation with people.
Once your bot is fully functional and set up the way you like it, you may want to try out using Facebook Click-to-Messenger ads. These are one of the fastest-growing Facebook ad formats and a great way to start conversations with potential customers.
Check out this 4-minute video on how to set up a Click-to-Messenger ad in minutes, or read the step-by-step instructions below.
Video tutorial:
Step 1
Go to Facebook Business.
If you haven't already set up an ad account with Facebook, follow the steps Facebook Business guides you through.
Step 2
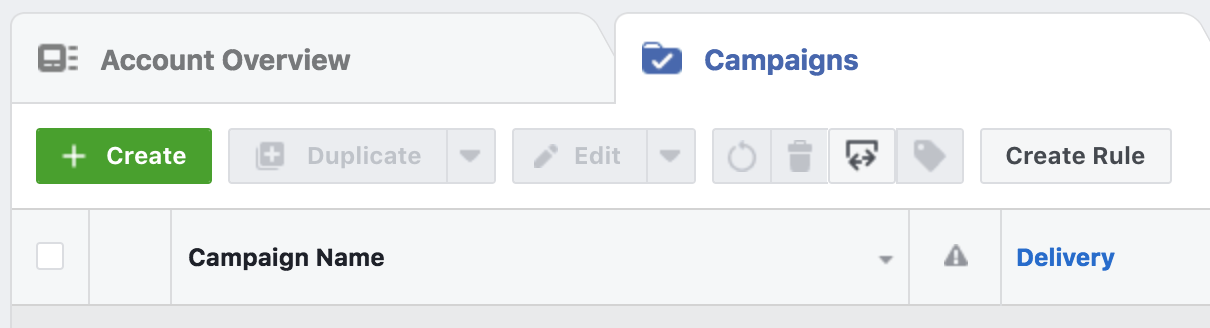
Next up is navigating to Ads manager, where you're able to create ads.
Switch over to the Campaigns tab to start creating your ad.
Step 3
Select the correct marketing objective.
Since you are promoting Messenger, choose Messages found under 'Consideration'.
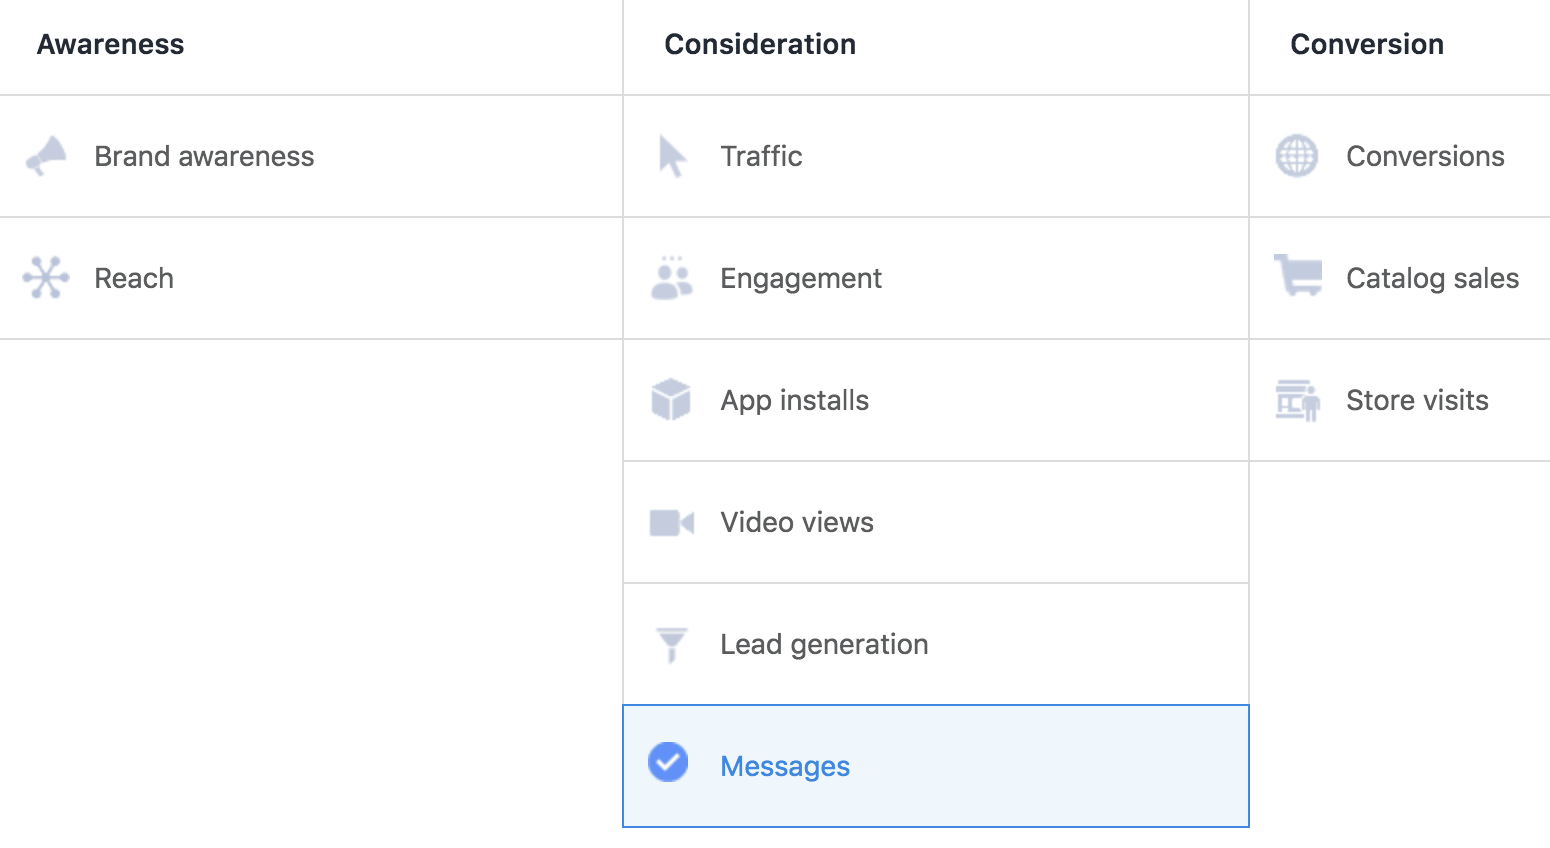
Give your campaign a name and hit 'Set Up Ad Account' to continue.
Step 4
Check your settings
Verify your account country, currency, and timezone to make sure Facebook reports it correctly to you.
Step 5
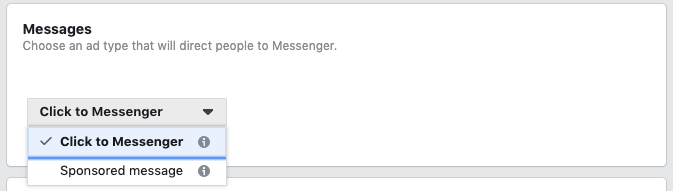
Set your audience, budget, schedule.
Make sure you select Click to Messenger as the ad type and define your audience, placements, and budget & schedule.
Step 6
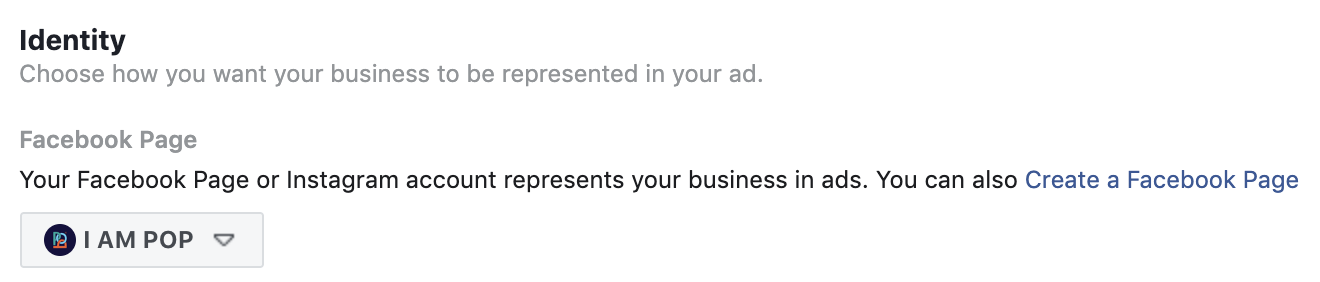
Creating the ad.
Make sure to select the correct Facebook page you want to promote.
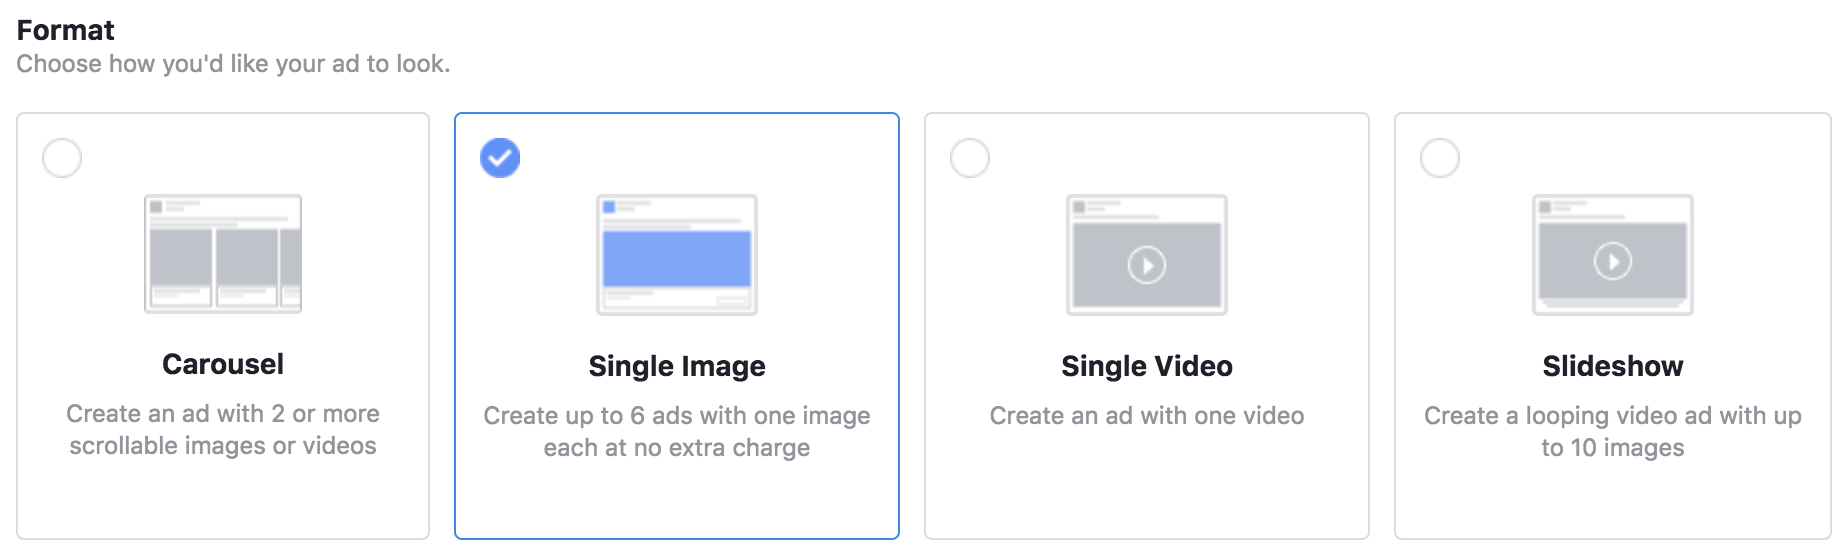
You can use different formats for your ad, a Single Image is the simplest one, this guide will follow that format as an example. Other formats work in a similar fashion.
Upload images or videos in the recommend size by Facebook and head over to Ad Setup.
Step 7
Finalizing your ad.
Set your text to go along with your ad, create your headline and set a call to action to match.
Step 8
Setting up the custom messages a person receives from the ad.
From the Messenger setup screen, select the tab Custom Template and click Create New.
From there, you can connect your bot in two different ways. Depending on which you choose, your custom message will be triggered by either a quick reply or a regular button.
Choosing a Quick Reply as customer action

Edit the welcome message as you see fit, adding images or video to personalize the greeting. Next, edit the reply text to change the copy for the Quick Reply, and click on 'Connect your bot'.
Here, you can paste the payload you can copy from a Flow. Open any Flow in I AM POP and select 'Get payload' to copy the code to your clipboard.

Important!: Make sure that the Flow you link to is adjusted to the intro message in the Ad Manager. If the latter starts with a greeting, make sure the Flow you link to doesn't do the same.
Choosing a Button as customer action
Instead of choosing the Quick Reply option, you can also choose to trigger your custom Flow with a button, with the additional option of adding it underneath an image, a video.

You will have to select 'Send a postback' in the 'Action' dropdown menu to be able to paste your Flow's payload and connect your bot. Again, make sure your Flow synchronizes with the welcome message in the Ad Manager.
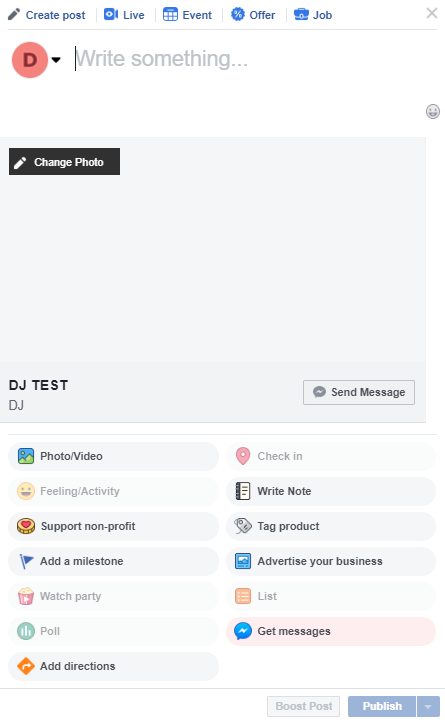
Note: please be aware that, when you write a general post on your Facebook page instead, and you select the "Get messages" option, the "Send Message" link also redirects to your Messenger channel. This does not, however, instigate your bot's "Get Started" screen or your intro flow.
Instead, people will simply be shown a copy of the original Facebook post, in Messenger. This also means they are not subscribed to your Messenger channel until they actually interact with your bot, by, for instance, typing a message that triggers a reply or clicking on a button in your persistent menu.
Step 9
Testing your ad.
Before you confirm your ad, make sure to test it first! There's a small button that allows you to test your ad.
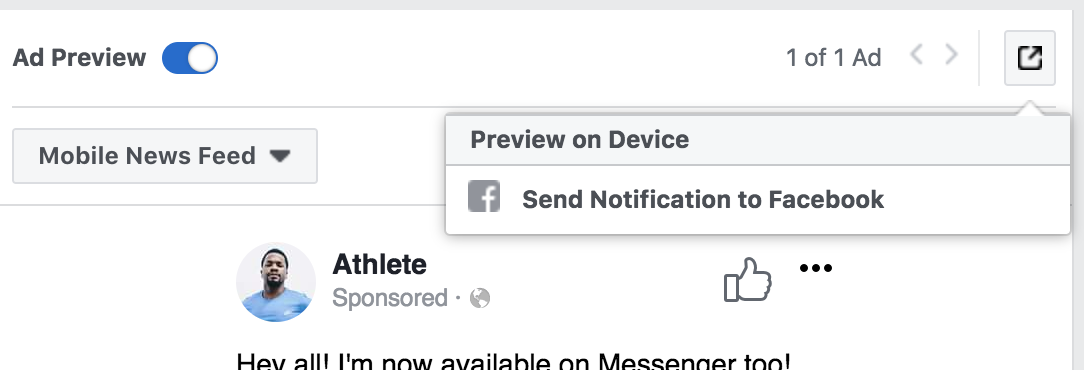
The small button allows you to preview your ad.
Are you happy with the preview? Hit the Review button at the bottom of the page and hit Confirm if you're happy to publish the ad.
Need more information on how to put this ad format into practice and combine it with your Messenger Marketing strategies? Check out this essential guide on our blog.