In just a few steps, you can create a pop-up with a ‘Send to Messenger’ button and install it on your own website. It’s a very effective growth tool that allows you to drive website visitors to Messenger.
Step 1. Create a new widget
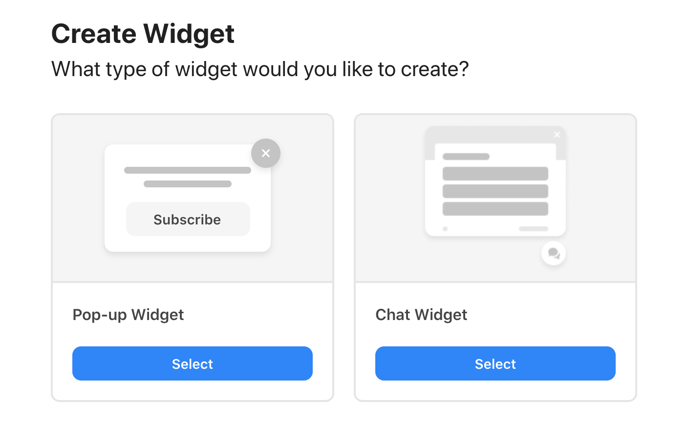
Go to the ‘Widgets’ tab in the ‘Automations’ section of the ShopPop dashboard to create your first Pop-up Widget. Manage your existing widgets or click the big blue button to create a new one.
Step 2. Set up the rules for your widget
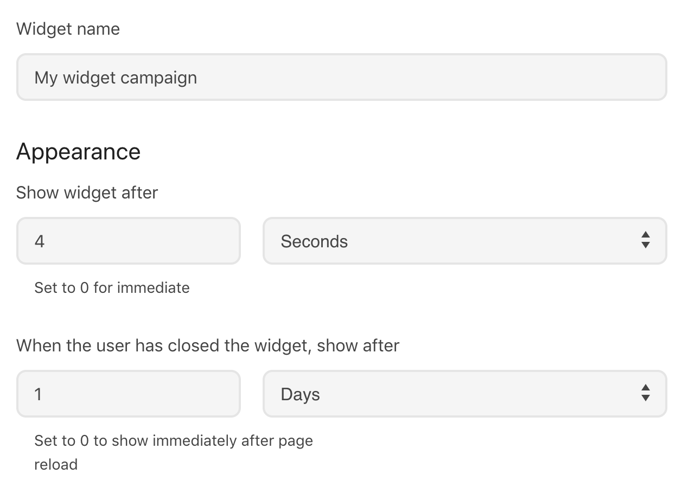
First, you will have to name your new widget. You can set up your widget so it appears either immediately, or after a short delay.
After your website visitors have closed the pop-up, you can set the widget to show again immediately after a page reload, choose a delay or have it never show again.
Step 3. Edit the widget copy and add an image
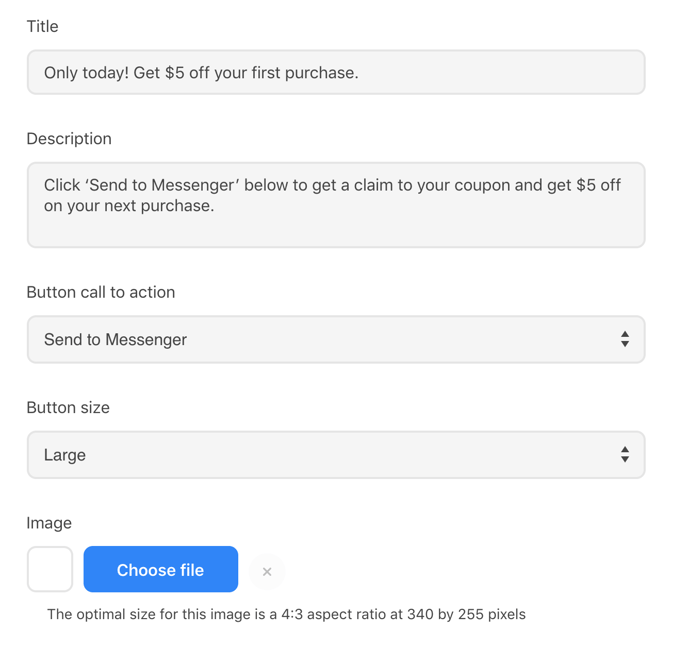
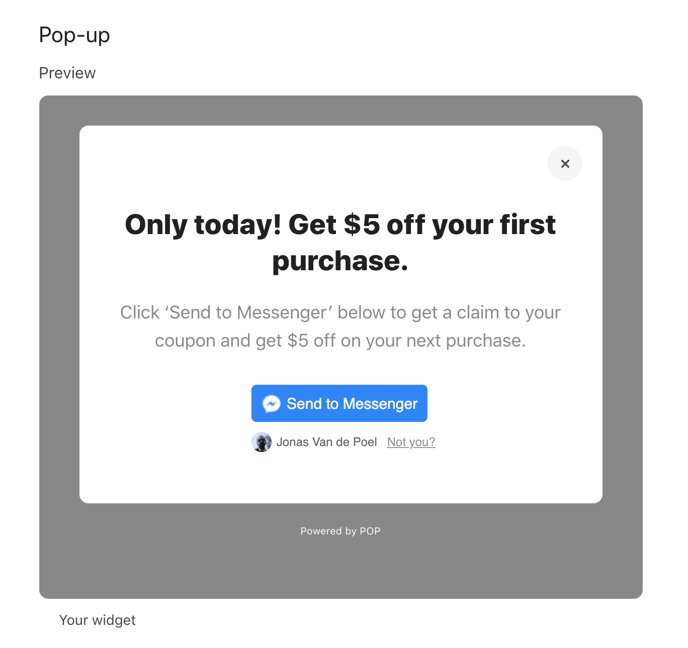
Your widget consists of a title, a description, a ‘call to action’ button and an optional image. You can change the title and description to your liking.
Select the button ‘call to action’ from a list of options. These are pre-defined by the Facebook Messenger platform, so you can’t edit any of these. However, you are able to edit the button size.
Choose an image to enrich your widget and make it look more appealing. For instance, if you’re offering a discount for a specific product, add an image of that product to your website widget.
Step 4. Set up your Messenger flow
When people click the Send to Messenger button, they will be taken straight to Messenger. Choose what happens next by creating a new Messenger flow, or linking to an existing one.
Make sure this flow corresponds to the messaging shown in your widget. For instance, if you’re offering a discount off on people’s first purchase, set up your Messenger flow to contain the corresponding discount code.
You also have the option to ‘Do nothing’ when a user clicks the ‘call to action’ button. This is a convenient way to leave it up to people themselves to start the conversation with your business.
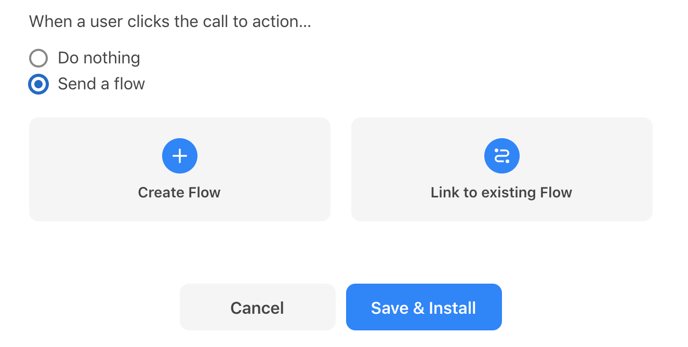
Preview the pop-up widget to make sure you’re happy with it. Once you’re sure everything is set up correctly, click the ‘Save & Install’ button.
Step 5. Install the widget on your website
To install the widget on your website, you just need to authorize your domain and add a snippet of code to the <head> part of every page on your website. You can use a tag managing tool like Google Tag Manager to do this. You’ll only need to add this snippet to your website once.
Note: once you've added the snippet to your website, you can skip this step when creating another widget.
If you’d like the Widget to only pop up on a specific page on your website, simply add the URL for that page in step 1 of the installation modal.
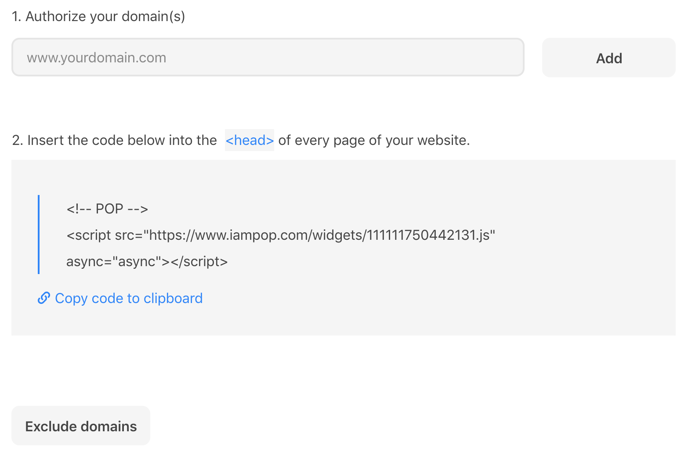
Alternatively, authorize your entire domain and exclude the pages you don’t want to add the widget to.
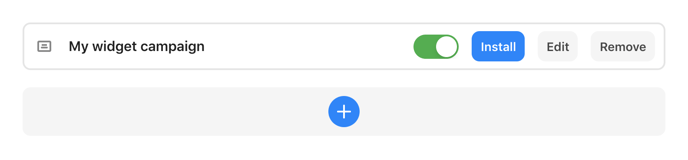
Once you’ve saved this step, your widget is live! You can toggle the widget on and off, or edit it once it’s live.
If you need any help with getting the tag on your website, please get in touch with us at hello@shoppop.com.
Alternatively, read more on some popular use cases on our blog.